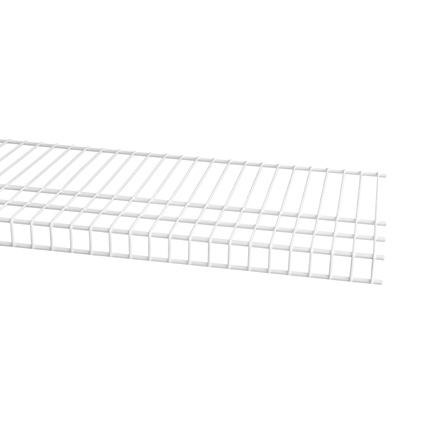
How To Install A ClosetMaid Shoe RackShoes, shoes, shoes!! Whether you have a little or a lot, we all need somewhere to store them! This step by step photo guide shows how to install one shoe rack. Using the ClosetMaid 12" (30.5cm) deep SuperSlide shelving, you can create multiple shoe racks stacked vertically, or on separate walls to make the most of your available storage space. See how you can do it too, below:
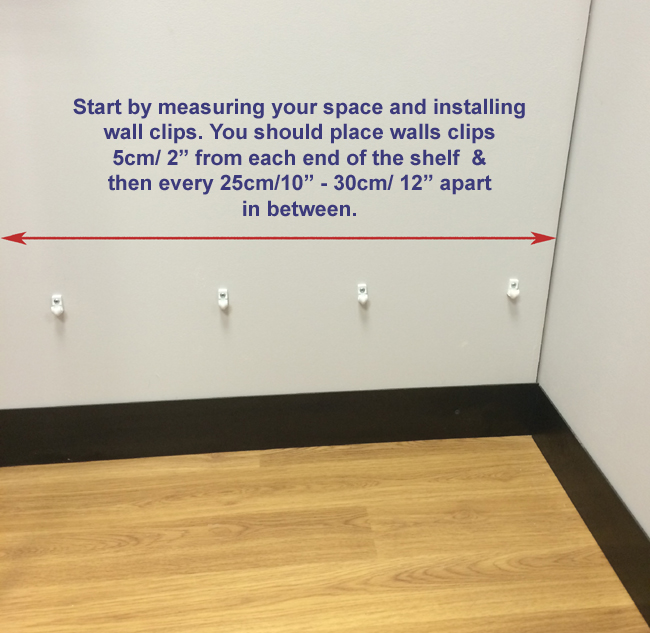
Step 1 - Measure and install wall clips.
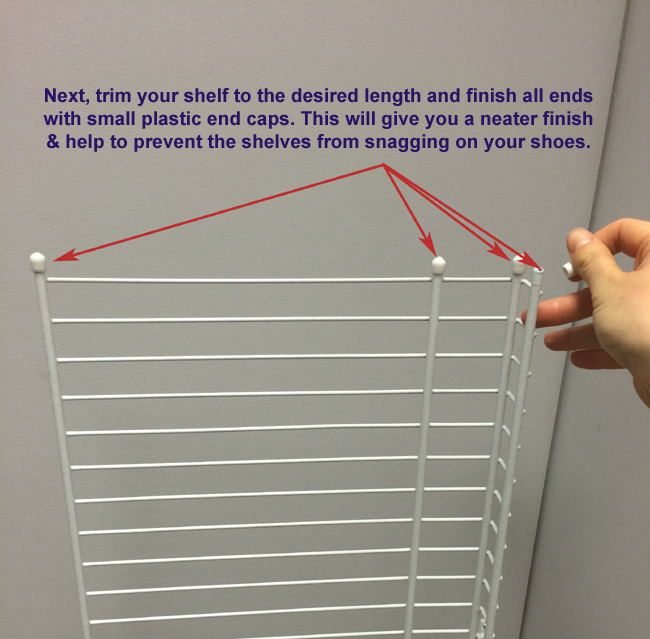
Step two - Cut shelf to required size and finish with end caps.
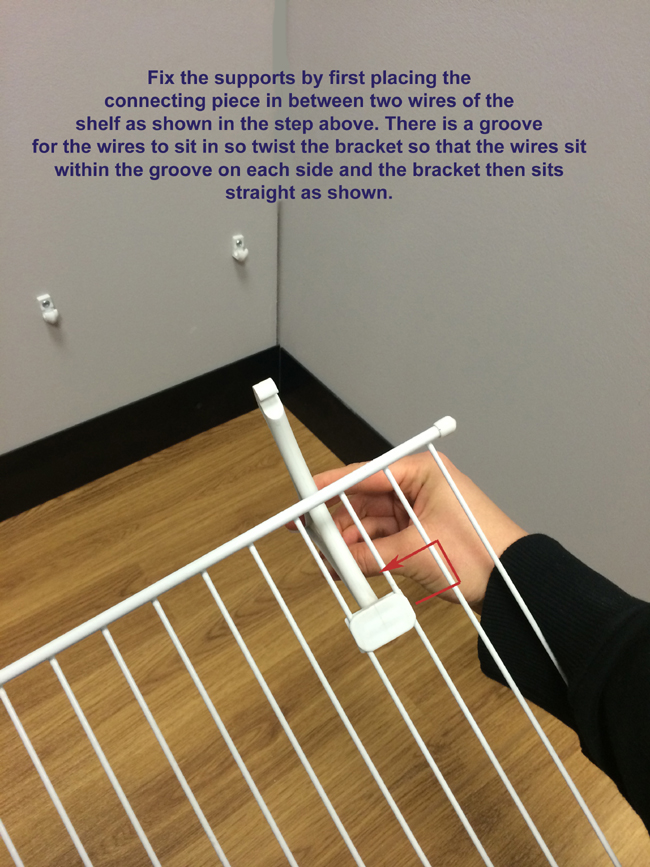
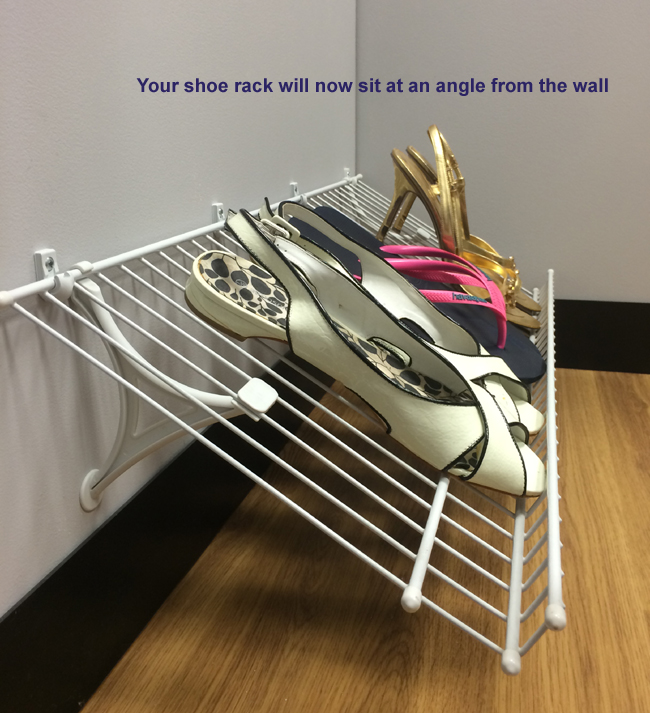
Step Three - Position Shoe Shelf Supports
Step Four - Twist supports to sit properly in between the deck wires of your shelf.
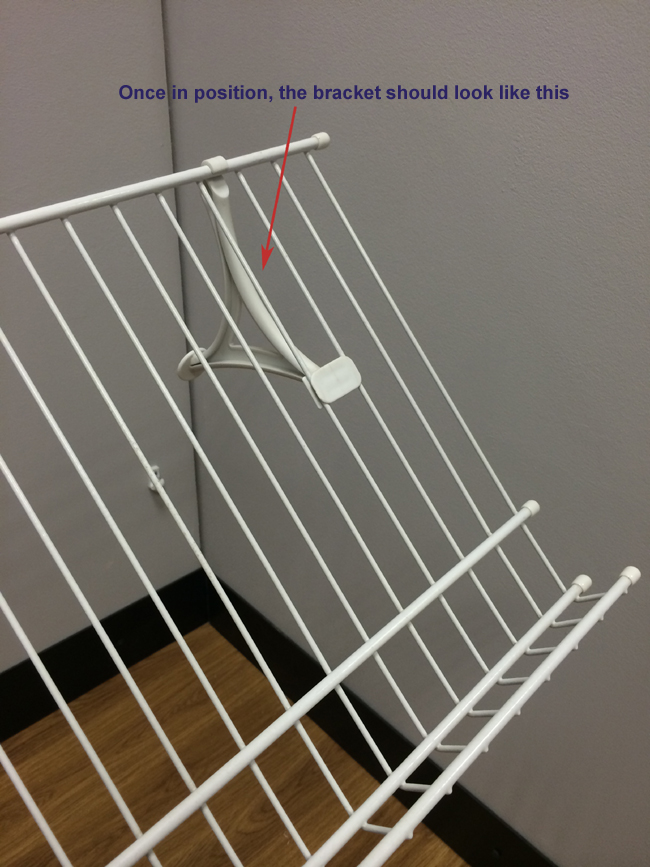
Step Five - Slide bracket so that back clip connects with rear wire of the shelf.
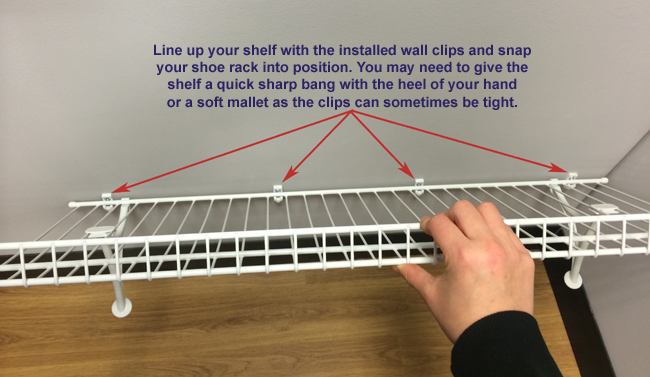
Step Six - Line up your shelf with installed wall clips and snap into place.
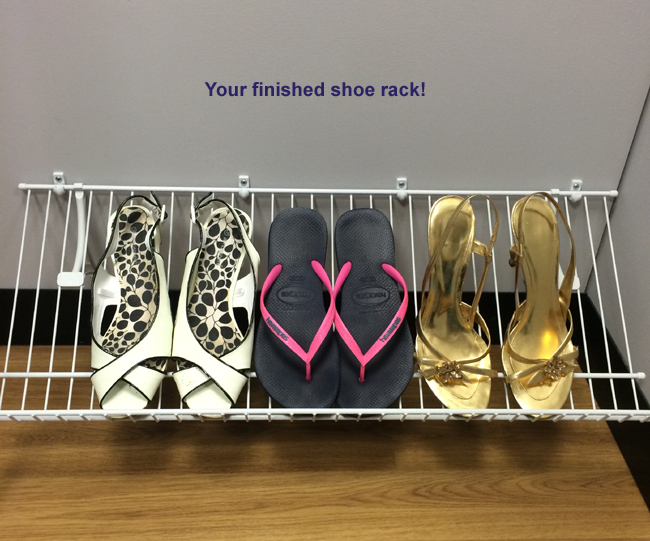
When stacking Shoe racks vertically, we recommend that you space them around 20cm - 25cm (8"- 10") apart to leave enough room for your shoes and access to them. If storing boots, you will need to allow more than this. You can also download a PDF file which gives you detailed instructions on how to install a ClosetMaid Shoe rack. Click here to view your Shoe Rack Installation Guide PDF. See below a list of essential parts that you will need to create a ClosetMaid shoe rack:
|


Terms & Conditions Contact Accepted Payments
© 2024 Organise My Home. |