How To Design A Wardrobe Using One Or More Corners
Having a Walk in Wardrobe may seem like a luxury, but it's a great way of making more room in your home!
If you have an underused spare room, perhaps two walls in your bedroom you can spare for an L shape closet, or even a large cupboard you could make better use of, why not consider creating a walk in wardrobe?
Here we show you how to create a corner hanging space so you can make the most of your storage.
Continuing a hanging section around a corner is a brilliant way to make the most of your space, but also to keep easy access to your items. The SuperSlide shelving system using specially formed J shaped brackets to allow hangers to slide along the hang bar/ rod without interruption, making it easy to find your garments!
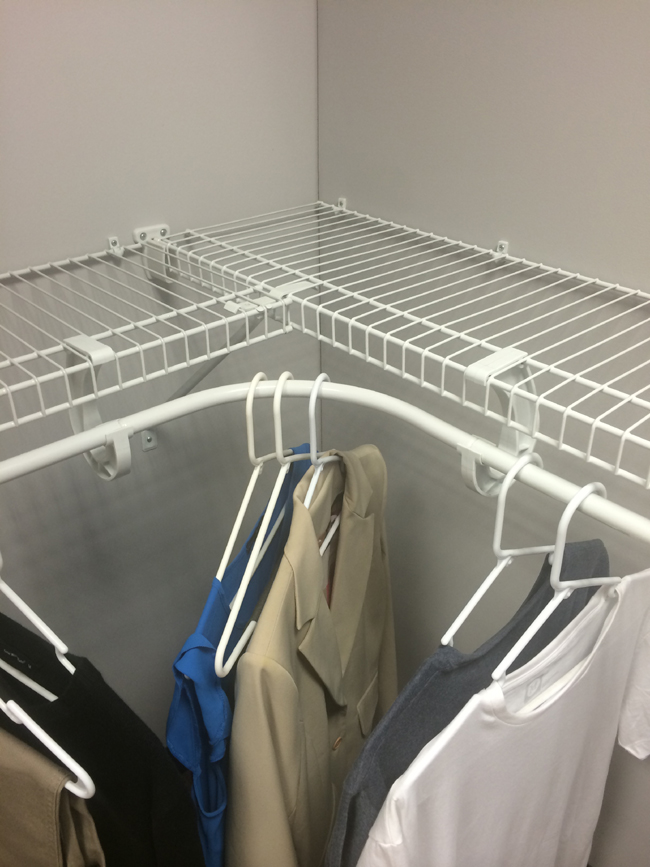
This example shows the a corner section using our 12" (30.5cm) deep SuperSlide shelving with our regular fix mounting hardware.
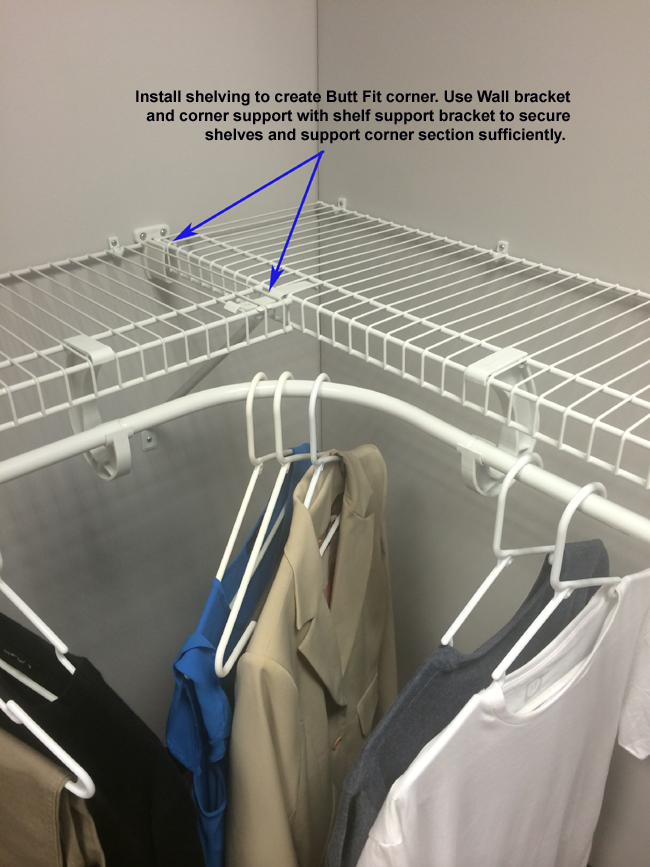
To create your corner section, first install one shelf and butt it up against the wall. Use a wall bracket to support the end as shown above.
The other shelf on the adjacent wall should then be installed and should butt up to the first shelf. You can use a corner support with a shelf support bracket as shown above to provide strength for your corner.
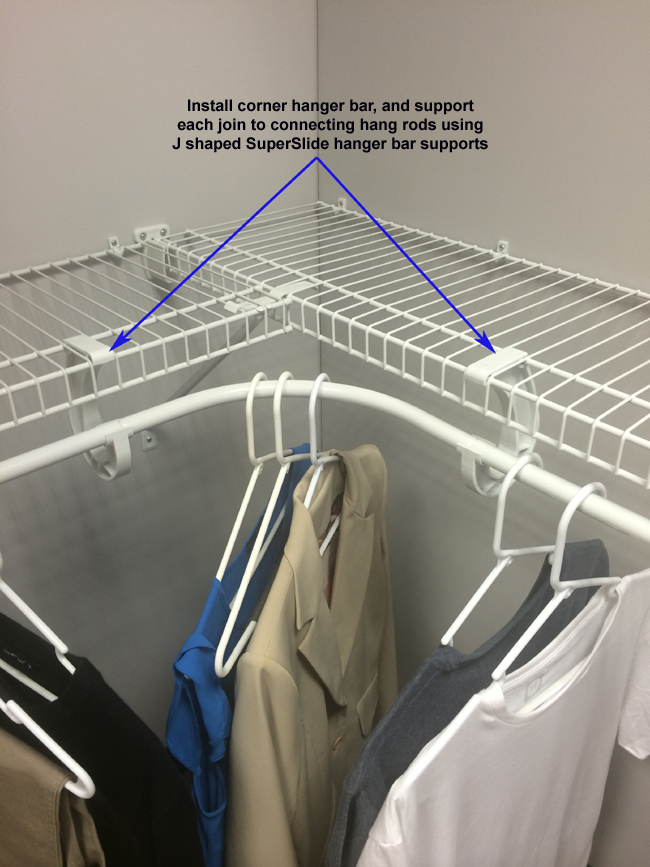
Finally ensure that J shaped SuperSlide hanger bar supports are installed at each join to support the connection between the SuperSlide corner hanger bar and the regular SuperSlide hang bars. This will provide strength to the joins so that you are able to store garments on the corner bar too.
See below a list of essential parts that you will need to create an L shape or Walk in closet!
| Part # | Description | Image |
| 4719_ Click here for options | 12" Deep SuperSlide shelving. Available to purchase in 1.22m/ 4' length, 1.83m/ 6' length, 2.44m/ 8' length and 3.05m/ 10' length. Note that shelving can be cut to suit exact dimensions. | 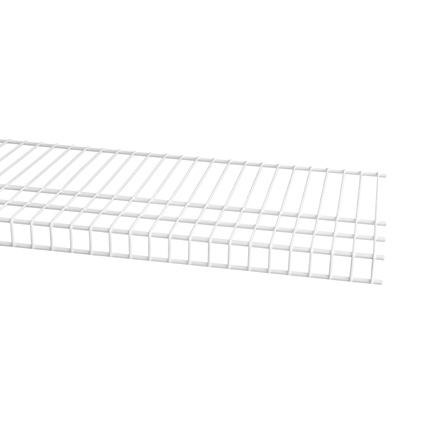 |
| 205_ Click here for options | SuperSlide hanger bar, suitable for use with 12" deep and 16" deep SuperSlide shelving. Available to purchase in 0.91m/ 3' length, 1.22m/ 4' length, 1.83m/ 6' length, 2.44m/ 8' length and 3.05m/ 10' lengths. Note that hang bar can be cut to suit exact dimensions. |  |
| 5649 Click here to view | SuperSlide corner hanger bar. Only for use when you have a right angle corner. Connects between two regular lengths of SuperSlide hang bar. ( |  |
| 1164 Click here to view | Shelf Support Bracket 30.5cm / 12" position. Use these at the end of any open shelf where shelf support poles are not used, or as supports at corners, or mid supports when a shelf is more than 91cm / 36" wide. | 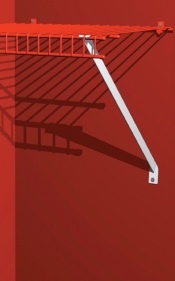 |
| 120 Click here to view | Corner support bracket. Use to support the corners where two shelves at right angles butt up to one another. 1 Per join |  |
| 974 Click here to view | Wall Bracket. Supports the end of a shelf only when fixing to available side wall. |  |
| 980 Click here to view | SuperSlide Wall Bracket. Support the end of a SuperSlide shelf with hang bar below when fixing to available side wall. |  |
| 5647 Click here to view | SuperSlide Hanger Bar Support. Use every 91cm / 36" along the length of a hang bar, as well as at each end where hang bar does not fix to a side wall, and either end of a SuperSlide corner hanger bar. |  |
| 2081 Click here to view | SuperSlide Internal Hang Bar End Cap. For use at the end of hang bars which are "open ended" |  |
| 2083 Click here to view | SuperSlide External Hang Bar End Cap. For use at the end of hang bars which butt up to walls or slot into SuperSlide wall brackets. |  |
| 203 Click here to view | Small Plastic End Caps. These end caps finish off the shelving neatly, particularly when you need to trim shelves to your exact size. You will need 10 per shelf. |  |
| 991 Click here to view | Wall Clips. These are vital for fixing the shelf to the wall. You will need one at each end of the shelf, and then one approximately 25cm - 30cm / 10" - 12" apart in between. |  |